
Have you just unboxed your new FireStick and are ready to set it up? You're in the right place! Whether it's your first time or you need a quick refresher, this step-by-step guide is here to inform you on how to Set Up an Amazon Firestick. These instructions apply to all Amazon Fire Stick models (Fire Stick 4K, 4K Max, Fire TV, Fire Stick Lite...), ensuring you can easily connect your device to your TV in no time.
The Basic Requirements
- Amazon Fire TV Stick
- Remote Control
- Two AAA Batteries
- HDMI Extender (optional)
- Documentation
- Wall Plug
- Power Cable
- TV with an HDMI Port
- Wi-Fi Connection
1. Connect Fire Stick to TV
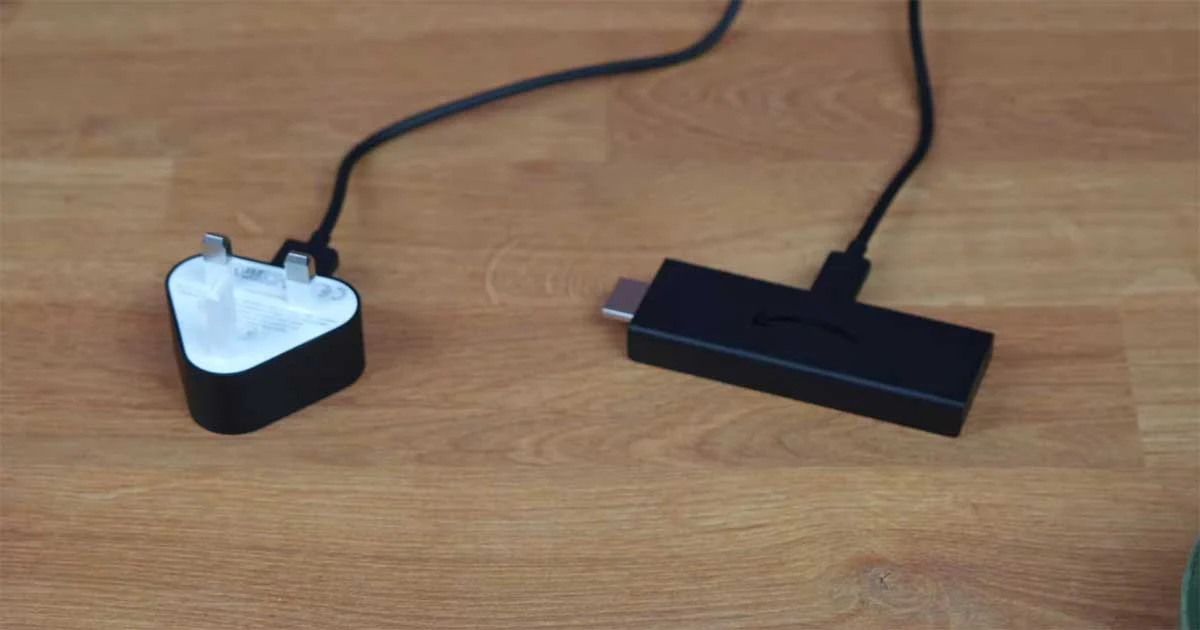
1. Connect the Power Cable to the Fire Stick
The Fire Stick's design is user-friendly. Simply attach the small end of the power cable to the micro-USB port located on the side of the Fire Stick and the USB port on the side of the Power Adapter.
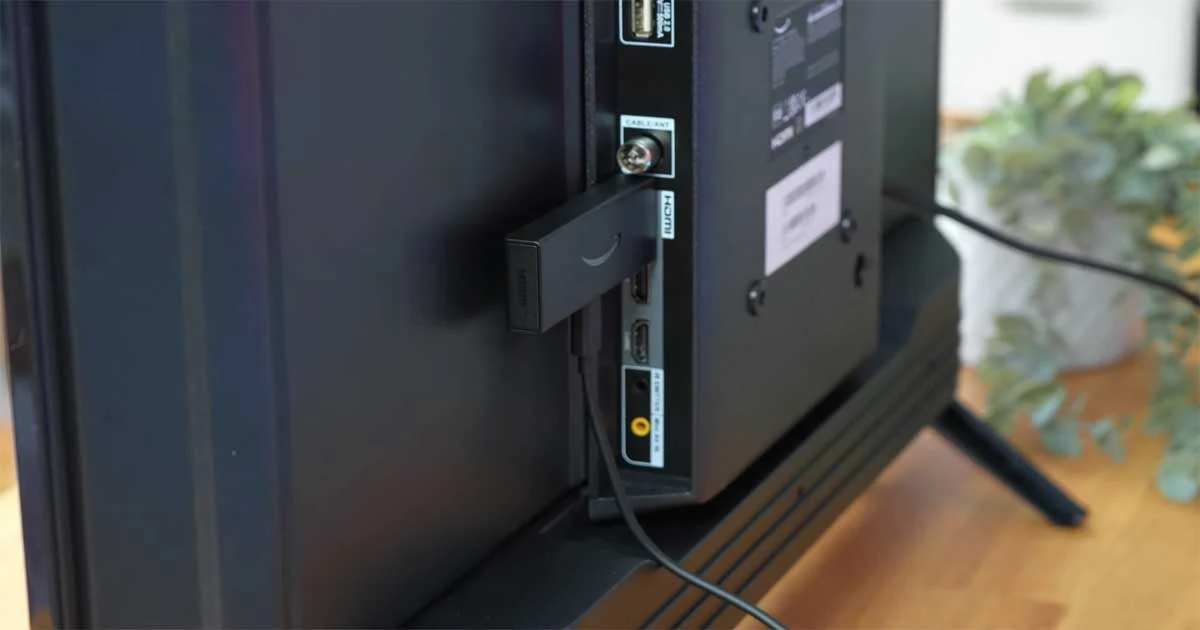
2. Plug the Fire Stick into an HDMI Port on Your TV
Insert the Fire Stick directly into an available HDMI port on your TV. If your TV's HDMI ports are difficult to access or if you prefer a better fit, use the HDMI extender cable provided. The extender can help you connect the Fire Stick more easily and securely to your TV.
3. Connect the Power Adapter to a Power Outlet
Plug the power adapter into a nearby wall outlet to power the FireStick. Alternatively, some TVs have USB ports that can power the Fire Stick, which is another option.
4. Turn on Your TV and Select the Correct HDMI Input
Turn on the TV using your TV remote. Press your TV remote's "Input" or "Source" button to select the HDMI input where the Fire Stick is connected.
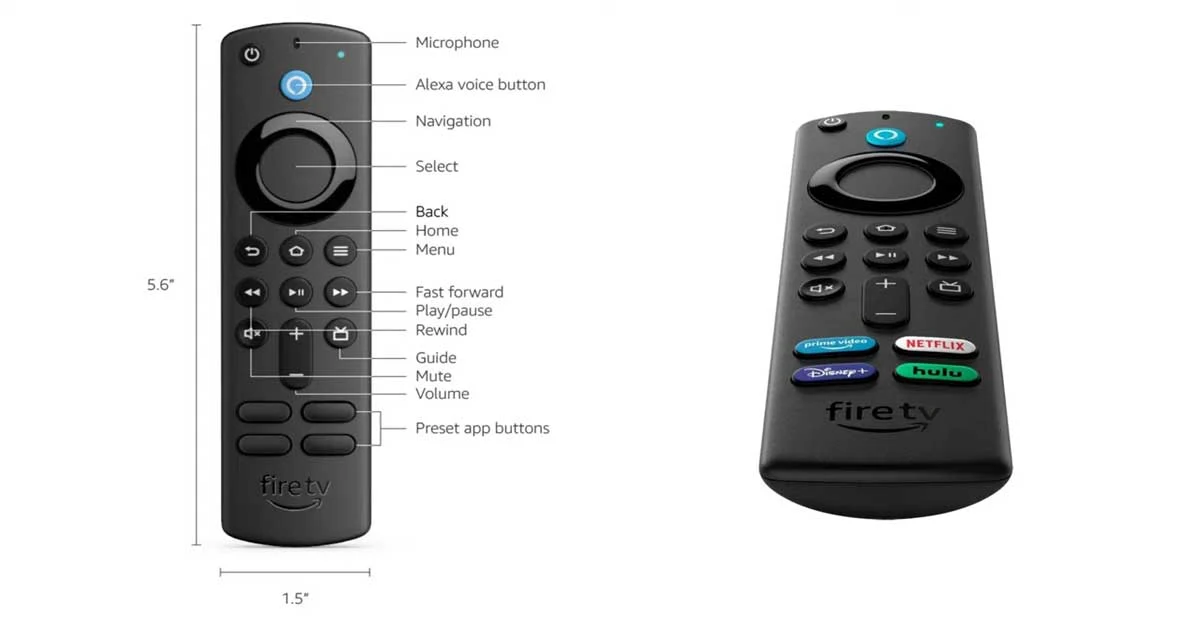
5. Pair the Remote with the Fire Stick
The Fire Stick remote should automatically pair with the Fire Stick. If it doesn't, press the home button (house icon) on the remote for 10 seconds to initiate pairing. This is a crucial step to ensure your remote can control the Fire Stick.
2. Setting Up Firestick
Follow the on-screen setup instructions once the Fire Stick is powered and the remote is paired. This typically involves connecting to your Wi-Fi network, signing in with your Amazon account, and configuring your preferences.
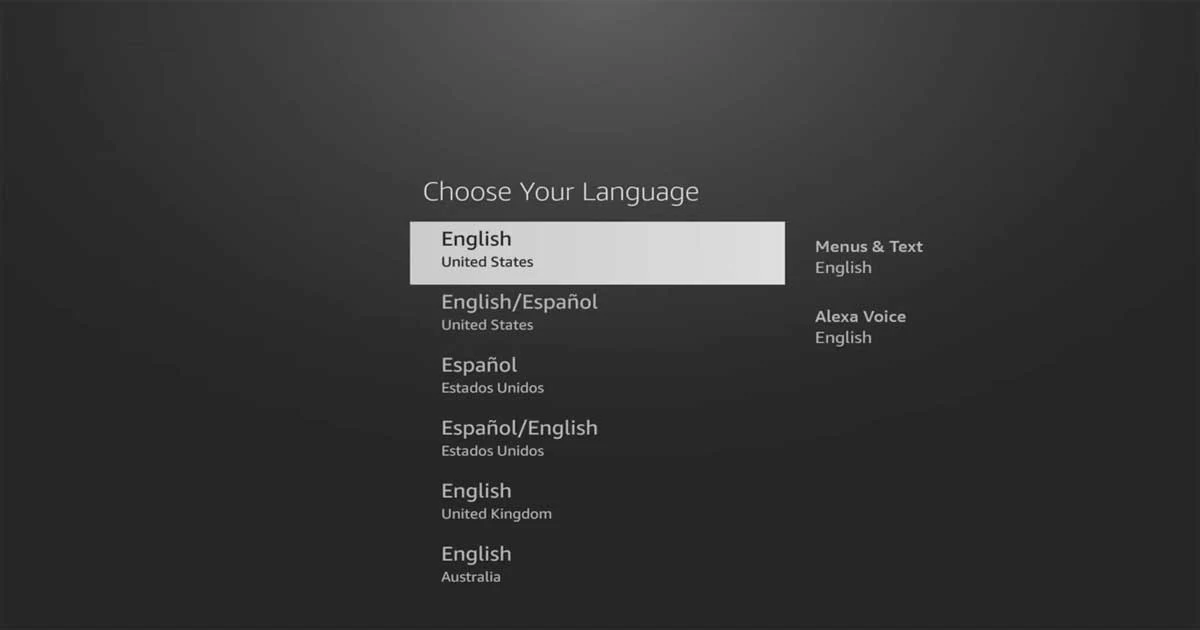
1. Select language
Use the directional buttons to choose your preferred Language, Highlight your choice, and press the Select Button.
2. Connect to Wi-Fi
Select your Wi-Fi network, Enter the password, and connect.
3. Check for Updates
The Fire Stick will check for updates, download them, and install them. This process may take several minutes and may restart several times.
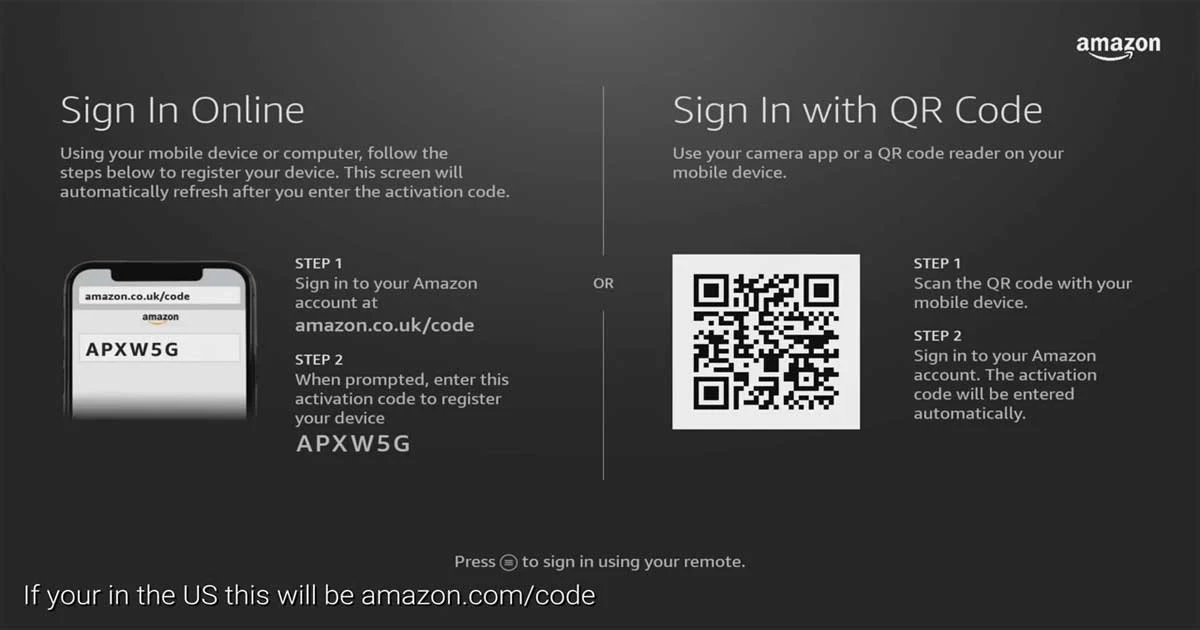
4. Sign In to your Amazon Account
Scan the QR code or use a web browser to go to amazon.com/code. Enter the code shown on your TV to register your Fire Stick.
5. Sync Remote with TV
Follow on-screen instructions to control volume, mute, and power with your Fire Stick remote.
6. Select Apps
Choose the apps you want to install based on your location and preferences.

7. Set Up Parental Controls
Decide whether to enable parental controls. Parental controls can help you manage what your children can access on the Fire Stick. You can also set up child profiles if desired, which can further restrict access to certain content.